ALL MORE
CONNECTED
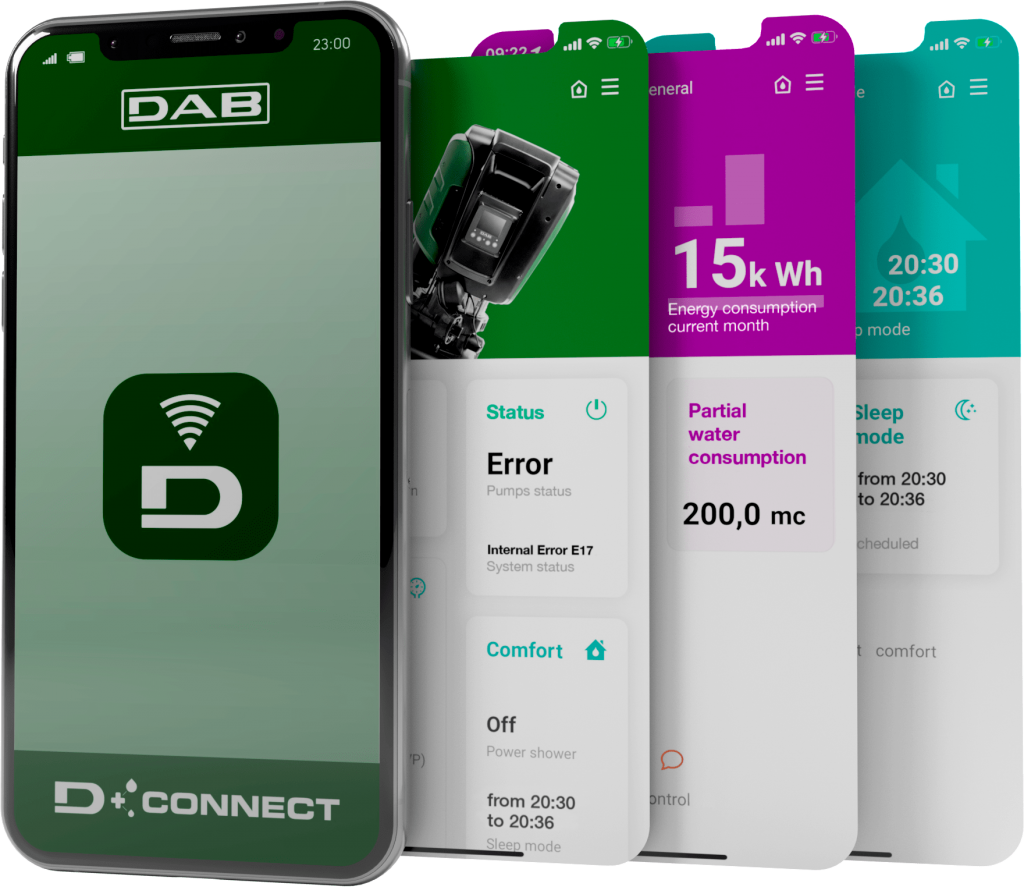
Easy monitoring and maintenance: thanks to DConnect, DAB’s cloud service, you can predict problems remotely and act quickly, without having to go to the installation site. Moreover, once any critical issues to be resolved have been identified, the ease of disassembly and assembly from the base allows for quick on-site replacement. We have also designed a new package of services that will bring real benefits to your business.
FAQ
Is there an expansion tank on the Esybox Max?
Yes, the Esybox Max system integrate a 2-liter expansion tank. Pay attention, the integrated expansion tank is used to manage small leaks in the system, not to provide a water reserve for user requests. If this is the need, it is always possible to add an expansion tank of the desired capacity to the system by connecting it to the delivery pipe (and not on the suction). We always recommend consulting the product manual for all information.
Can Esybox Max manage drinkable water?
Yes, Esybox Max is designed to handle drinking water. We always recommend consulting the product manual for all information.
What do I need to install Esybox Max on the site?
Esybox Max is an OSA (On Site Assembly) product, therefore the final assembly process of a product is done directly in the place where it will be placed, instead of in the factory. Esybox Max is conceived from the design stage with all possible uses in mind. The box contains everything necessary for assembly, like a multi-purpose tool, which can be used for example to join the pump to Esydock or to unscrew the pump caps. We always recommend consulting the product manual for all information.
What hydraulic connections are possible?
Four types of hydraulic connections are possible, as shown in the figure:

We always recommend consulting the product manual for all information.
How should I proceed for the first water filling of Esybox Max?
It depends on whether the installation is under head or over head. In the above head installation, access the technical compartment and using the multi-purpose tool (or a screwdriver) remove the filler cap and slowly fill Esybox Max with clean water (11 litres), slowly to allow the air to escape. In the under head installation it is not necessary to manually fill the system but it is necessary to partially unscrew the filling cap during the first start-up to let the air out. Once filled it is necessary to screw the cap back on completely.

We always recommend consulting the product manual for all information.
How do I start an Esybox Max for the first time?
For the first start-up follow this procedure:
Make the hydraulic and electrical connections (without supplying power)
Fill the pump (see previous FAQ)
Open a delivery user
Supply electrical power
Connect to the pump via the App to carry out the assisted configuration
The system turns on and checks for the presence of water in delivery. If it detects a smooth flow of water, the pump is primed and begins its pressurization work. We always recommend to read the product manual for all information.
How do I enter the Esybox Max setup menus?

We always recommend consulting the product manual for all information.
The display shows EE,GO... what does it mean?

We always recommend consulting the product manual for all information.
Esybox Max does not work and displays error messages on the display...
Table of blocking conditions and historical fault alarms.

Some error conditions clear themselves automatically:
Pump blocking conditions table:

We always recommend consulting the product manual for all information.
Troubleshooting

We always recommend consulting the product manual for all information.


